I felt that the
mizuya neede some shelving to make it look like a place to prepare the tea, so I used bits an pieces of foamcore (they were everywhere anyway) and put together some shelving. Also, it would be hard to identify which door is the entrance for the host if I did not place steps, so I have done so as well. Another part I added is the balcony that leads to the
nijiriguchi.
 |
| Host's entrance. |
 |
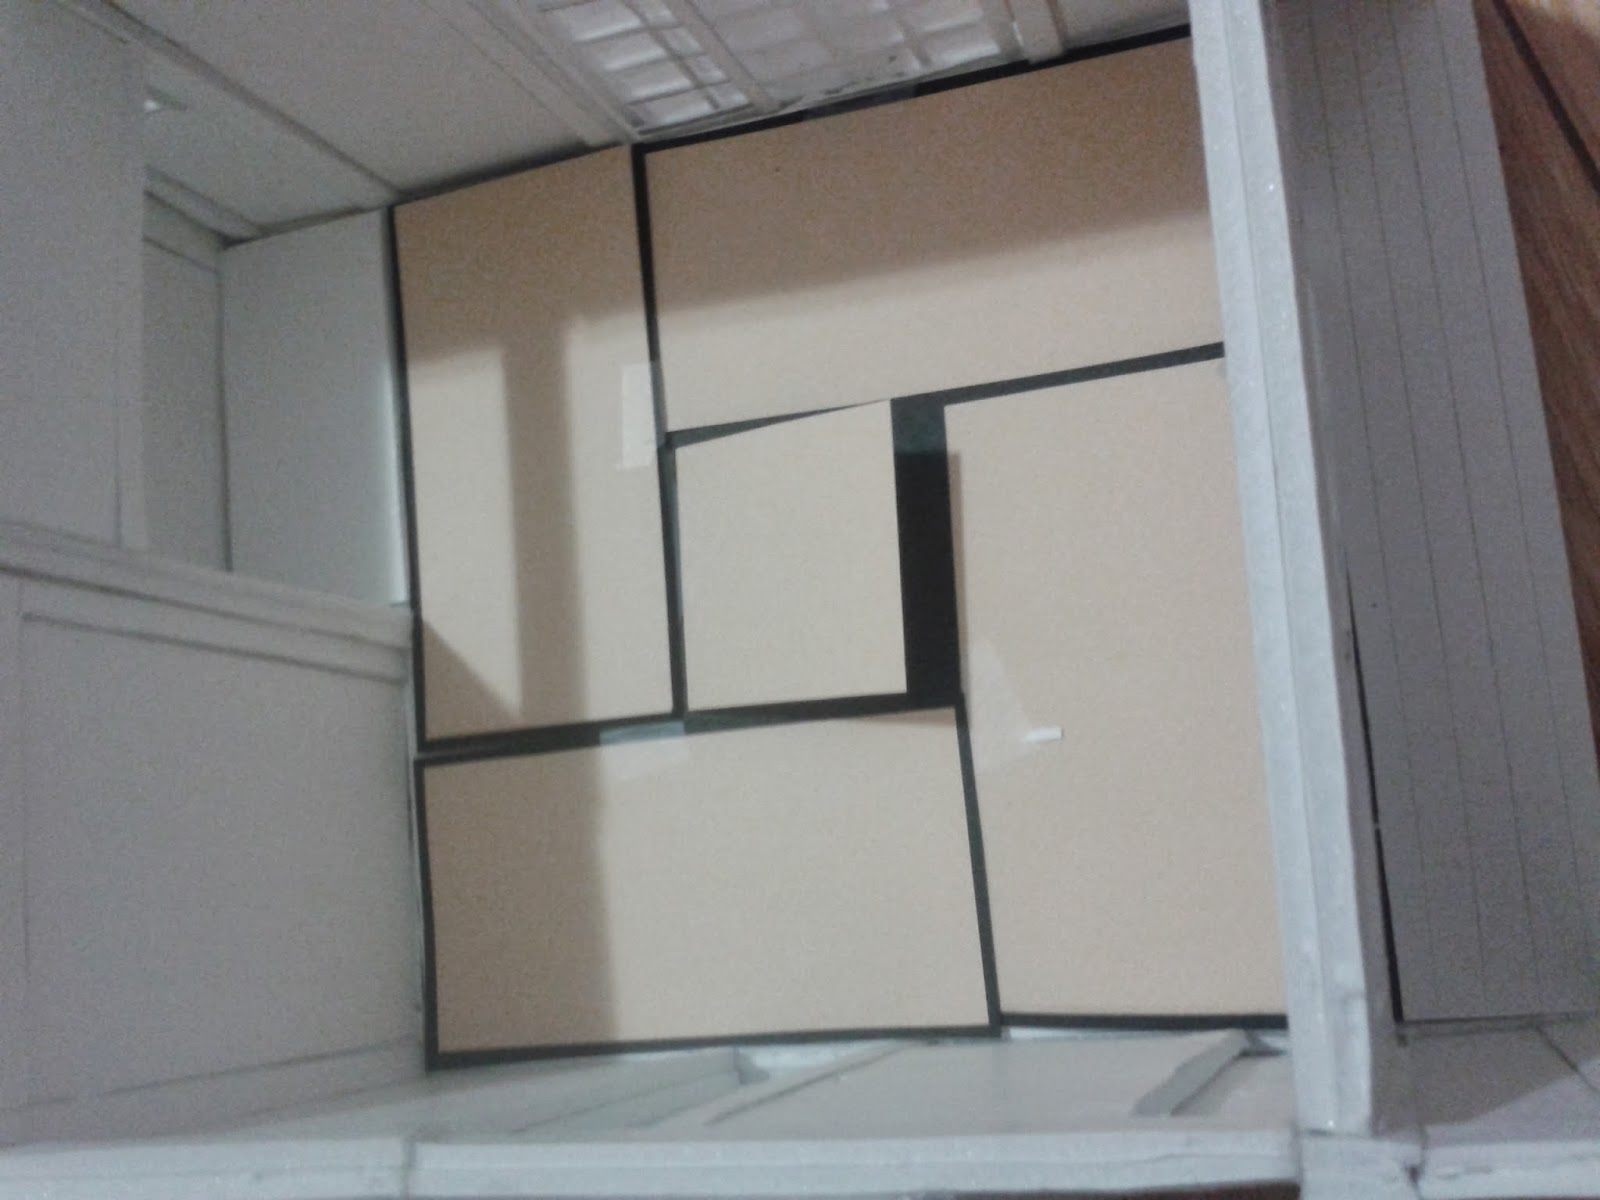
| Completion! |
This project was such a great learning experience for me, I didn't not expect I would be able to finish a model in such a short period of time. Despite the fact that I have ruined my living room (as my mother reminded me everyday I have worked on it), I am proud of the progress I made, and the things that I have learned from it.
 |
| Looks good to me. |
 |
The explosion can wait, have to hand this
project in first. |